Imagine transforming your favorite designs into vibrant, wearable art without breaking the bank or your sanity. DTF transfers, or Direct to Film transfers, are the DIY solution that’ll have you printing like a pro from the comfort of your home. It’s like magic, but without the rabbits and top hats!
Understanding DTF Transfers
DTF transfers, or Direct to Film transfers, provide an affordable option for creating vibrant designs at home. This method enables users to print their favorite artwork onto specific films for application onto fabric.
What Are DTF Transfers?
DTF transfers involve printing designs onto a special film, which is then transferred onto fabric. This process uses specific inks that adhere well to textiles. Printouts typically require a heat source for proper adhesion. Transfer techniques may vary but generally include images being printed in reverse, applied with adhesive powder, and cured with heat. Many enthusiasts find this method efficient and effective for various fabric projects.
Benefits of DTF Transfers
DTF transfers feature numerous advantages. Cost-effectiveness stands out as one of the primary benefits, making this method accessible for many users. Versatility is another advantage; DTF transfers work well on various materials, including cotton and polyester. The vibrant color reproduction also enhances the final product, ensuring designs pop. Furthermore, the process is relatively simple, allowing users to achieve professional-quality results with minimal setup. Instant gratification is also possible as transfers can be printed and applied quickly, allowing creativity to flourish without lengthy production times.
Necessary Equipment and Materials
Creating DTF transfers at home requires specific equipment and materials to ensure high-quality outcomes. The right tools streamline the process and enhance results.
Printer and Ink Requirements
An inkjet printer serves as the main component for producing DTF transfers. It must support pigment-based inks, which provide vibrant colors and durability. Using inks that specifically cater to DTF printing enhances adhesion and longevity. Brands like Epson and Canon offer suitable models, ensuring even distribution of ink on the transfer film. Consider purchasing high-quality ink cartridges to maintain consistency in color reproduction. Users often find that specialized DTF inks yield the best results, minimizing potential issues during application.
Transfer Film and Adhesive Powder
Transfer film plays a crucial role in the DTF process. This film acts as the medium on which designs are printed. Selecting a high-quality, compatible film ensures successful transfers. Brands that cater specifically to DTF applications offer varying options for different project needs. Adhesive powder complements the film, binding the printed design to the fabric. Applying the powder while the ink is still wet allows for optimal adherence. Users typically apply the adhesive lightly, avoiding clumps to ensure even coverage.
Step-by-Step Guide to Making DTF Transfers
Creating DTF transfers at home involves several straightforward steps that ensure quality results.
Preparing Your Design
Begin by selecting the design for your transfer. Use graphic design software like Adobe Photoshop or CorelDRAW to create or modify images. Ensure the image resolution is at least 300 DPI for optimal clarity. Remember to flip the design horizontally before printing, which allows for accurate placement on the fabric. Save the design in an appropriate file format, such as PNG or TIFF, to maintain transparency and quality.
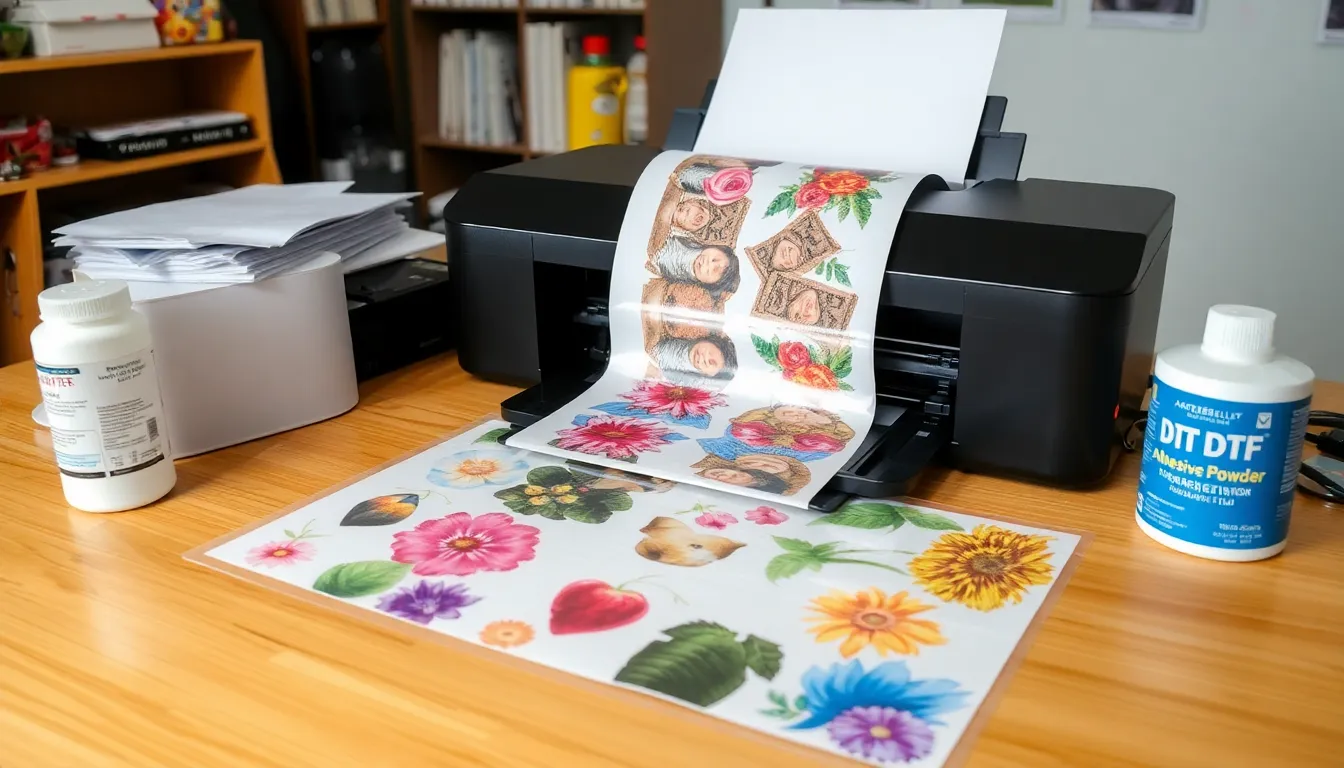
Printing the Transfer
Load the DTF transfer film into the inkjet printer. It’s crucial to use a printer capable of handling pigment-based inks, which offer vibrant results. Set the printer to high-quality print settings and choose the correct media type for the film. Monitor the ink levels to avoid unexpected interruptions. Once printing is complete, let the film dry completely before moving to the next step, ensuring the design sets properly.
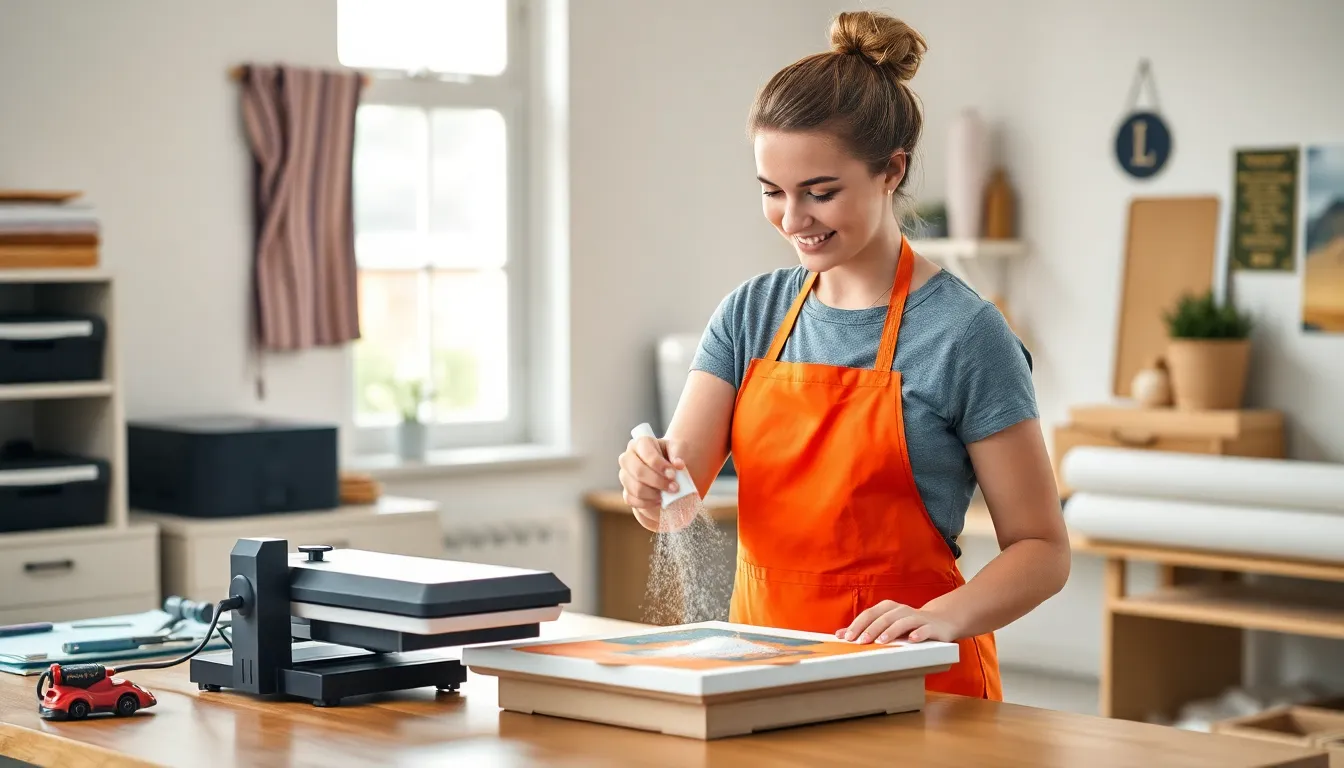
Applying the Adhesive Powder
Lightly sprinkle adhesive powder on the wet ink of the printed transfer. This should occur immediately after printing to ensure the powder adheres well. Use a sifter or a fine mesh to apply an even coat, which prevents clumping. After coating, gently shake off excess powder, allowing only the necessary amount to remain. Heat the transfer in a curing oven or heat press for optimal adhesion before transferring it onto the fabric.
Finishing Your DTF Transfers
Curing the DTF transfer is crucial for achieving durability and vibrant colors. First, ensure the printed design completely dries. Next, take the transfer to a curing oven or use a heat press set to the recommended temperature for the specific ink and film type. Typically, a temperature of 330°F for about 60-90 seconds works best. Press the transfer firmly but evenly, allowing the heat to bind the design to the fabric. After curing, allow the transfer to cool before peeling off the backing film. A successful cure enhances adhesion and helps the design withstand washing.
Curing the Transfer
Curing activates the adhesive and ensures the design adheres well. To initiate curing, preheat your heat press or curing oven to the appropriate temperature. Once preheated, place the transfer on the fabric, fugue the correct pressure and time settings according to the manufacturer’s recommendations. Heat activation solidifies the adhesive across the entire design. Always monitor the time closely to avoid over-curing, which can damage the design. When complete, allow the fabric to cool for easy backing removal.
Tips for Successful Transfer Application
Choosing the right fabric significantly impacts the final result. Cotton and polyester blends work well, as they hold the transfer firmly. Always pre-press the fabric for about five seconds to remove moisture and fibers. Align the design carefully before applying heat, ensuring precision in relation to the fabric. Use a sheet of parchment paper or a teflon sheet to protect both the transfer and heat press surface. Adjust pressure settings on the heat press; too much pressure can compromise the design, while too little may lead to incomplete adhesion. Following these tips increases the chances of achieving a professional-quality finish.
Creating DTF transfers at home opens up a world of creative possibilities. With the right equipment and attention to detail, anyone can produce stunning designs that rival professional prints. The process is straightforward and cost-effective, allowing for quick experimentation and personal expression.
By mastering the steps from design preparation to the curing process, individuals can enjoy vibrant, durable transfers on various fabrics. This DIY method not only fosters creativity but also empowers users to customize their wardrobe or craft projects with ease. Embracing DTF transfers means stepping into a realm where imagination meets practicality, making it an exciting venture for crafters and artists alike.


